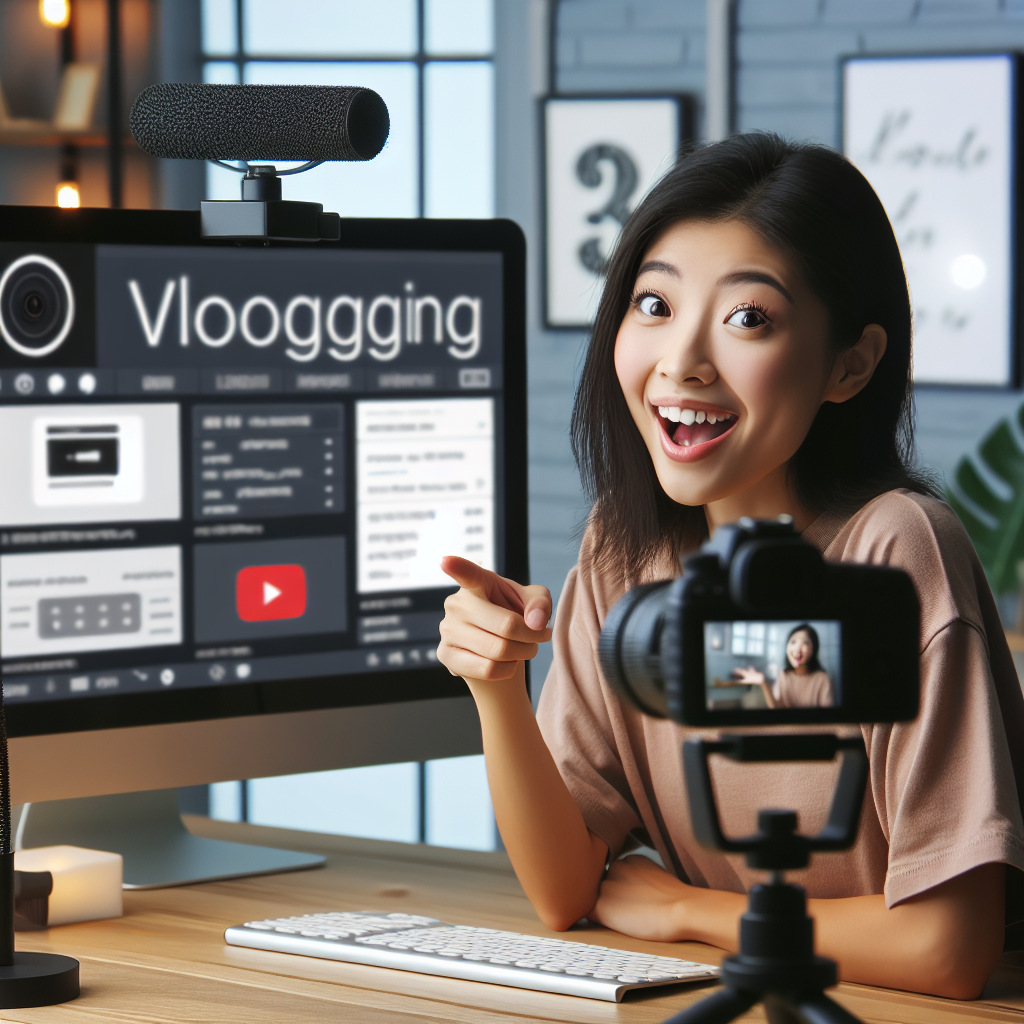
With the rise of digital platforms, vlogging has become a popular way to share stories, promote products, or showcase talents. Using a webcam for vlogging is a cost-effective and convenient choice for many aspiring content creators. This guide will walk you through the steps needed to successfully use a webcam for vlogging, including choosing the right equipment, setting up your workspace, adjusting your webcam settings, and creating engaging content.
Choosing the Right Equipment
Selecting the right webcam is the first step in your vlogging journey. Here are some key factors to consider:
| Factor | Details |
|---|---|
| Resolution | Look for a webcam that supports at least 1080p resolution for clear, high-definition video. |
| Frame Rate | A higher frame rate (30 fps or higher) ensures smoother video playback. |
| Field of View | A wider field of view captures more of your surroundings, which can be beneficial for certain types of content. |
| Autofocus | Ensures your video remains sharp as you move. |
| Low Light Performance | Good low light performance produces better video quality in dim settings. |
Setting Up Your Workspace
Lighting
Proper lighting can make a significant difference in video quality. Natural light is ideal, but if you don’t have access to sufficient natural light, consider using softbox lights or ring lights.
Background
Choose a clean and uncluttered background or use a backdrop for a professional look. Avoid distractions that might take attention away from your content.
Positioning Your Webcam
- Ensure your webcam is at eye level to create a more natural and engaging connection with your audience.
- Use a tripod or a stable surface to prevent shaky footage.
- Consider using a webcam mount for better flexibility and positioning.
Optimizing Webcam Settings
Resolution and Frame Rate
Set your webcam to the highest resolution and frame rate your computer can handle without compromising performance.
Focus and Exposure
Adjust the focus to ensure you’re always in sharp view. Use manual settings for exposure and white balance to avoid sudden changes in lighting conditions.
Audio Quality
Audio quality is crucial for keeping your audience engaged. Use an external microphone if possible, as built-in webcam microphones often deliver inferior sound quality.
Creating Engaging Content
Planning Your Content
Successful vlogging requires planning. Outline your topics, create a script if needed, and decide on key points you want to cover in each video.
Engaging Your Audience
Engage with your audience by making eye contact with the camera, responding to comments, and encouraging viewer interaction through questions and calls-to-action.
Editing
Editing is essential to create polished, professional-looking videos. Use editing software to cut out mistakes, add transitions, and include graphics or music that enhance your content.
Popular Editing Software
- Adobe Premiere Pro
- Final Cut Pro
- DaVinci Resolve
- iMovie (for Mac users)
- HitFilm Express
Uploading and Promoting Your Videos
Choosing a Platform
Select the right platform for your content. YouTube is the most popular choice for vlogging, but you might also consider other platforms like Vimeo, Facebook, or Instagram depending on your audience.
SEO Optimization
- Use relevant keywords in your video title, description, and tags.
- Create eye-catching thumbnails.
- Write engaging video descriptions that provide value and context to your audience.
- Use closed captions to improve accessibility and reach a broader audience.
Promoting Your Videos
Share your videos across social media platforms, on your blog, and through email newsletters to reach a wider audience. Collaborate with other vloggers to cross-promote each other’s content.
By following these steps, you can effectively use a webcam for vlogging and build a successful online presence. Remember, consistency and quality are key. Keep creating, engaging with your audience, and refining your process to see continuous growth in your vlogging journey.


